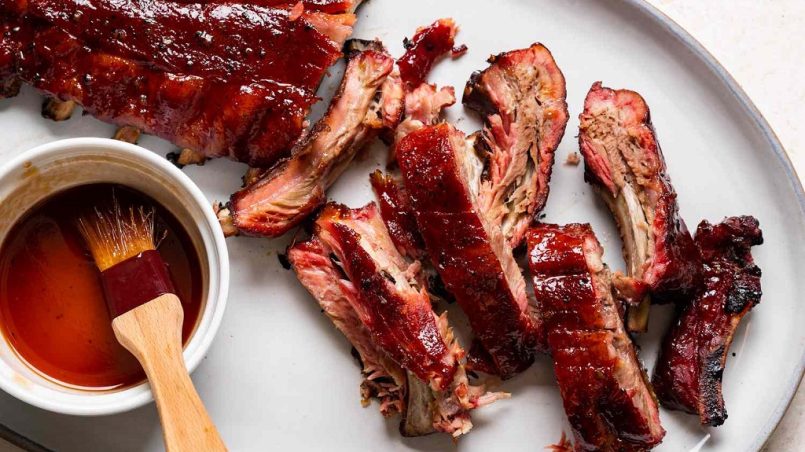
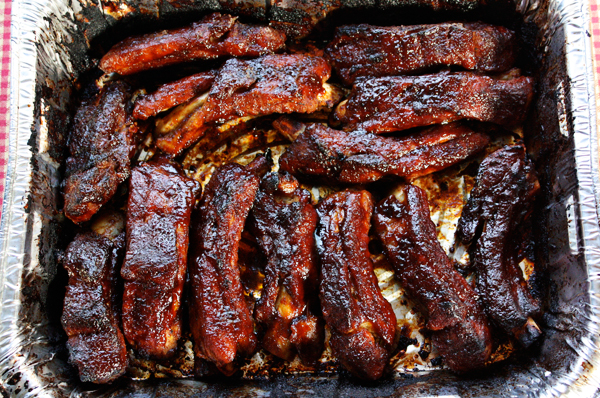
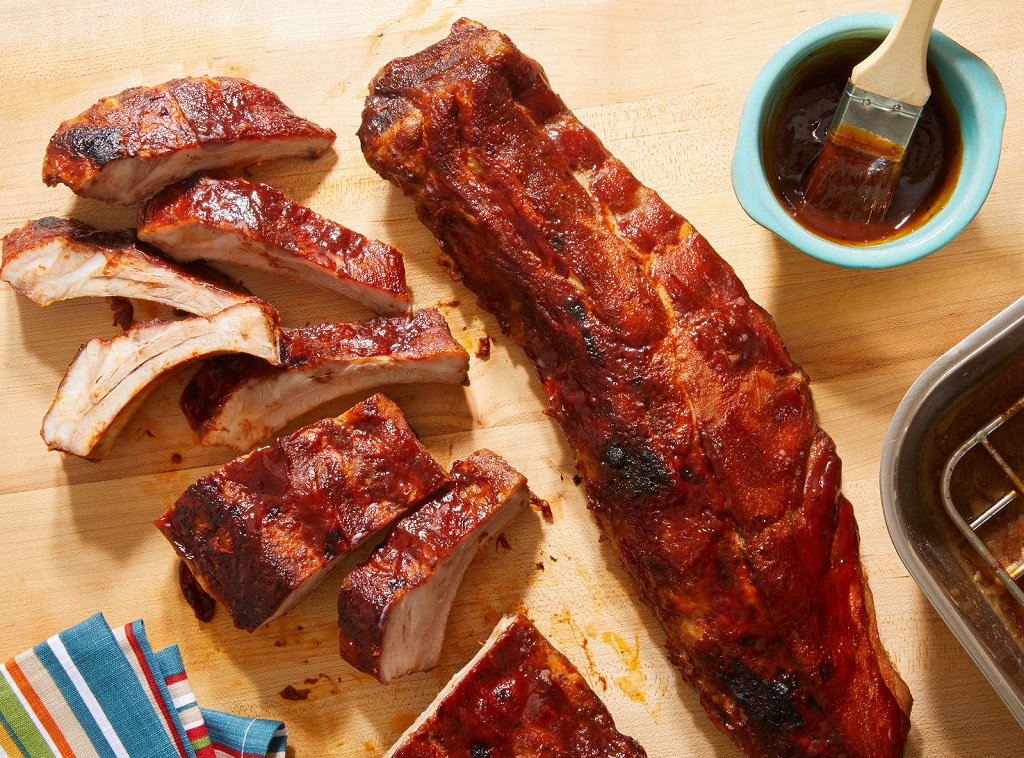
Smoky, tender ribs fresh off the barbecue pit are a little slice of heaven. But under or overcooking can ruin the experience, leaving you with inedible tough meat or dry disappointment. So how do you know when smoked pork ribs are done just right? This backyard BBQ masterclass has all the secrets to identifying when your ribs reach finger-licking perfection.
Before firing up the smoker, let’s start with some ribs 101. Pork ribs come in a few different cuts, each with their own characteristics:
Baby Back Ribs – From the upper ribcage near the spine. They have the most tender meat with a milder pork flavor. The shorter ribs cook faster.
Spareribs – Cut from the belly where there’s more fat marbling and connective tissue. Takes longer to cook but rewards you with richer flavor and fall-off-the-bone texture.
Country-style Ribs – Meatier pieces from the blade end of the loin. Less bone but still lots of great smoked flavor.
St. Louis Cut – Rectangular spare ribs with the skirt bone and cartilage tips removed. Cooks evenly and perfect for competitions.
For the classic backyard experience, I recommend good ole’ spareribs. Their high fat content means more luscious flavor and tenderness.
Dialing In Your Cooker : pork ribs
Low and slow is the name of the game for tender, mouthwatering ribs. Target holding your smoker between 225-250°F using indirect heat. This gives the collagen time to melt into luscious gelatin.
Higher heat above 275°F speeds things up but you sacrifice tenderness. While ribs may “get done” faster, they’ll turn out chewy. Have patience and keep temps in the sweet spot.
Aim to cook for 1.5-2 hours per pound of ribs. A full sparerib rack can take 6+ hours at 225°F. It’s a marathon, not a sprint, for the real deal.
Is It Done Yet? Telltale Signs
Ribs don’t come with a handy pop-up timer like a turkey. You need to closely monitor for visual and tactile signs of doneness. Here’s what to look for:
Bone Pull-Back – Grab the slab with tongs in the middle. Well-done ribs will have contracted and begun to pull back from the ends of the bones by 1⁄4-1⁄2 inch.
Probe Tender – Stick a fork or probe into the meat. It should slide in with little resistance like room temp butter.
Bark Formation – A nice dark, crusty bark takes 4-6 hours to form at 225°F. If still pale, they need more time.
Tacky Sauce – Baste ribs during the last 30-60 mins. When sticky and tacky, they are close to finished.
Temp – 205°F for baby backs, 195-210°F for spares. Use as guide, still check other doneness signs.
Expert Tips and Techniques: pork ribs
Here are some pro moves for finger-licking ribs every time:
Remove Membrane – Peel off the silverskin membrane on the back of the ribs for even cooking.
Season Overnight – Rub both sides with spice blend then let sit in fridge up to 24 hours. Maximum flavor penetration.
Spritz with Apple Juice – Mist ribs with juice every hour to keep the meat moist (skip if wrapping).
Wrap ‘Em – For ultimate tenderness, wrap ribs in foil at the midway point with liquid like beer or cola.
Rest ‘Em – Let ribs rest for at least 15-30 minutes before slicing to retain moisture.
Sauce Sparingly – Brush on sauce in the last 30 mins once bark has formed. Too early will ruin the crust.
Beyond the BBQ – Indoor pork ribs
Don’t let winter weather stop your rib cravings. You can also “smoke” delicious ribs indoors with your oven and kitchen tools.
Oven Method – Cook low and slow 250°F for 4-6 hours. Finish on broil.
Slow Cooker – Layer seasoned ribs meat-side down and cook on low 6-8 hours.
Instant Pot – Pressure cook ribs in broth for 45 mins with natural release. Finish under broiler.
You won’t get real smoke flavor, but still tender, saucy indoor ribs all year round.
Troubleshooting Pitfalls
Smoking ribs can be tricky, but learning from mistakes is part of the journey. Here are some common issues and solutions:
Overcooked and Dry – Stick to 225-250°F temps. Wrap earlier and spritz more often. Don’t let rest too long.
Undercooked and Tough – Give them more time at a steady low temperature. Wrap longer to accelerate tenderness.
Burnt Spots – Use indirect heat, keep temp even, and rotate ribs in the smoker.
Bland Flavor – Let rib rub penetrate overnight before smoking. Apply sauce only during the final minutes.
Soggy Bark – Avoid heavy mopping. Smoke unwrapped longer to set bark before wrapping.
Get Your Pork Ribs Education
Want to take your ribs to the next level? Consider a Kansas City Barbecue Society-certified competition class. You’ll learn champion techniques for truly brag-worthy backyard ribs.
Answers to Common Questions
Do you remove membrane from ribs?
Yes, remove to prevent buckling while cooking. Use a butter knife to loosen then peel it off.
Should you cook ribs meat-side up or down?
Cook meat side up to allow fat to baste the ribs as it renders.
When do you wrap ribs in foil or “Texas crutch”?
Wrap after ribs have smoked 3-4 hours once temp stalls around 165°F.
Do fall-off-the-bone ribs mean they’re overdone?
Not necessarily – ribs with clean bone release are ideal as long as meat is still moist and tender.
What’s better, baby backs or spareribs?
It’s a tie! Baby backs cook faster, but spareribs have a more intense pork flavor when smoked low and slow.
Conclusion
Perfectly smoked pork ribs require patience, practice, and knowing what signs to look for. Like achieving backyard barbecue perfection with ribs, preserving tomatoes involves a careful blend of temperature control, tenderness tests, and monitoring for desirable skin formation, ensuring your tomatoes are perfectly stored. Stick to low, indirect heat, and resist peeking too much. With the tips in this guide, soon you’ll be biting into competition-worthy ribs off your own smoker. Now get outside and master the art of ribs!


